3D Print Organic Lattice
- 3 minutes read - 453 words3D printing makes it possible to produce shapes and features that are difficult to produce using conventional manufacturing methods. If you own a 3d printer at home you can print nice looking & practical pieces of art to add to your home decor.
Using Fusion 360
I managed to create and print a nice looking cover for our water jar. It was not very difficult but surely needed some patience and a little bit of trial and error with Fusion 360. Here I’ll go through the steps:
Create the 3 dimension shell
First I tried to replicate the shape of the jar as accurately as possible in Fusion 360. Since it was mostly a cylinder it wasn’t that difficult. Then create an outer shell slightly bigger than the original object. I made it 0.2mm larger to make sure it fits nicely. (more on this later).
Convert the shell to a mesh
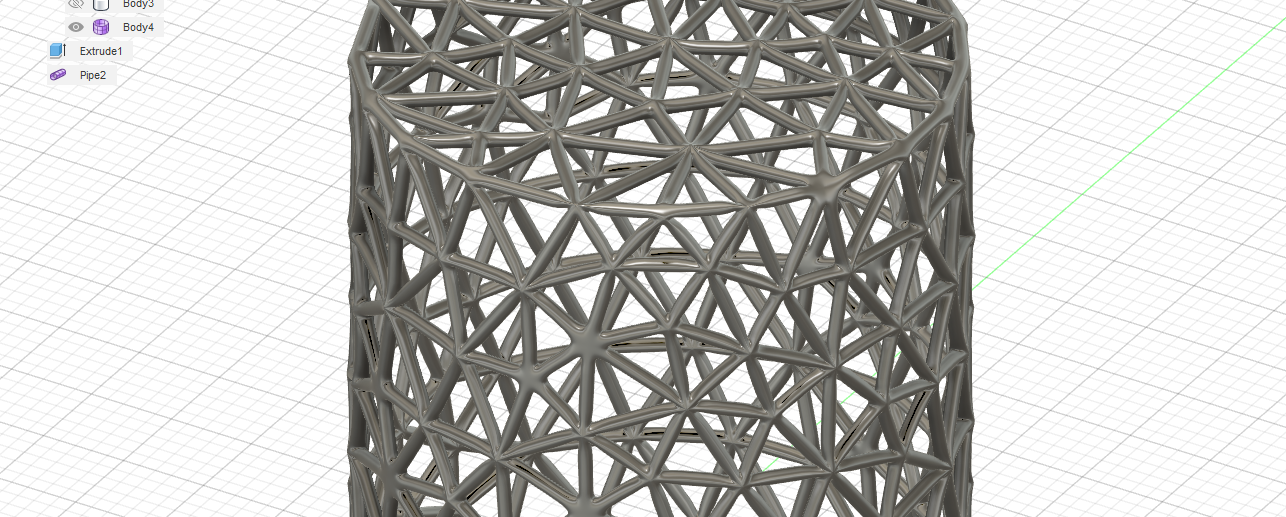
Next I converted the shell to a mesh using built-in Fusion 360 tools. Then I refined and reduced it’s triangles to get a wider mesh structure. How far you go with this step is entirely up to you and it changes the end result quite drastically.
Once you are satisfied convert the mesh back to a solid body using the convert mesh option. At this point you can further examine and modify the object to make it more suitable for printing, for example you may want remove the hanging edges to reduce the need for additional support.
Apply “Pipe” on the edges
At this step I used the pipe form to convert the edges to a nice organic form. Please note that in order to get access to the forms in Fusion 360 you must disable the “Capture History” option. Play around with the pipe settings until you get what you want.

Almost there
At this stage you can export the design as STL, slice with your favorite slicer and print! It might be that the final result doesn’t quite fit on the jar or bottle, just scale it slightly up (or down if too loose) and it should fit.
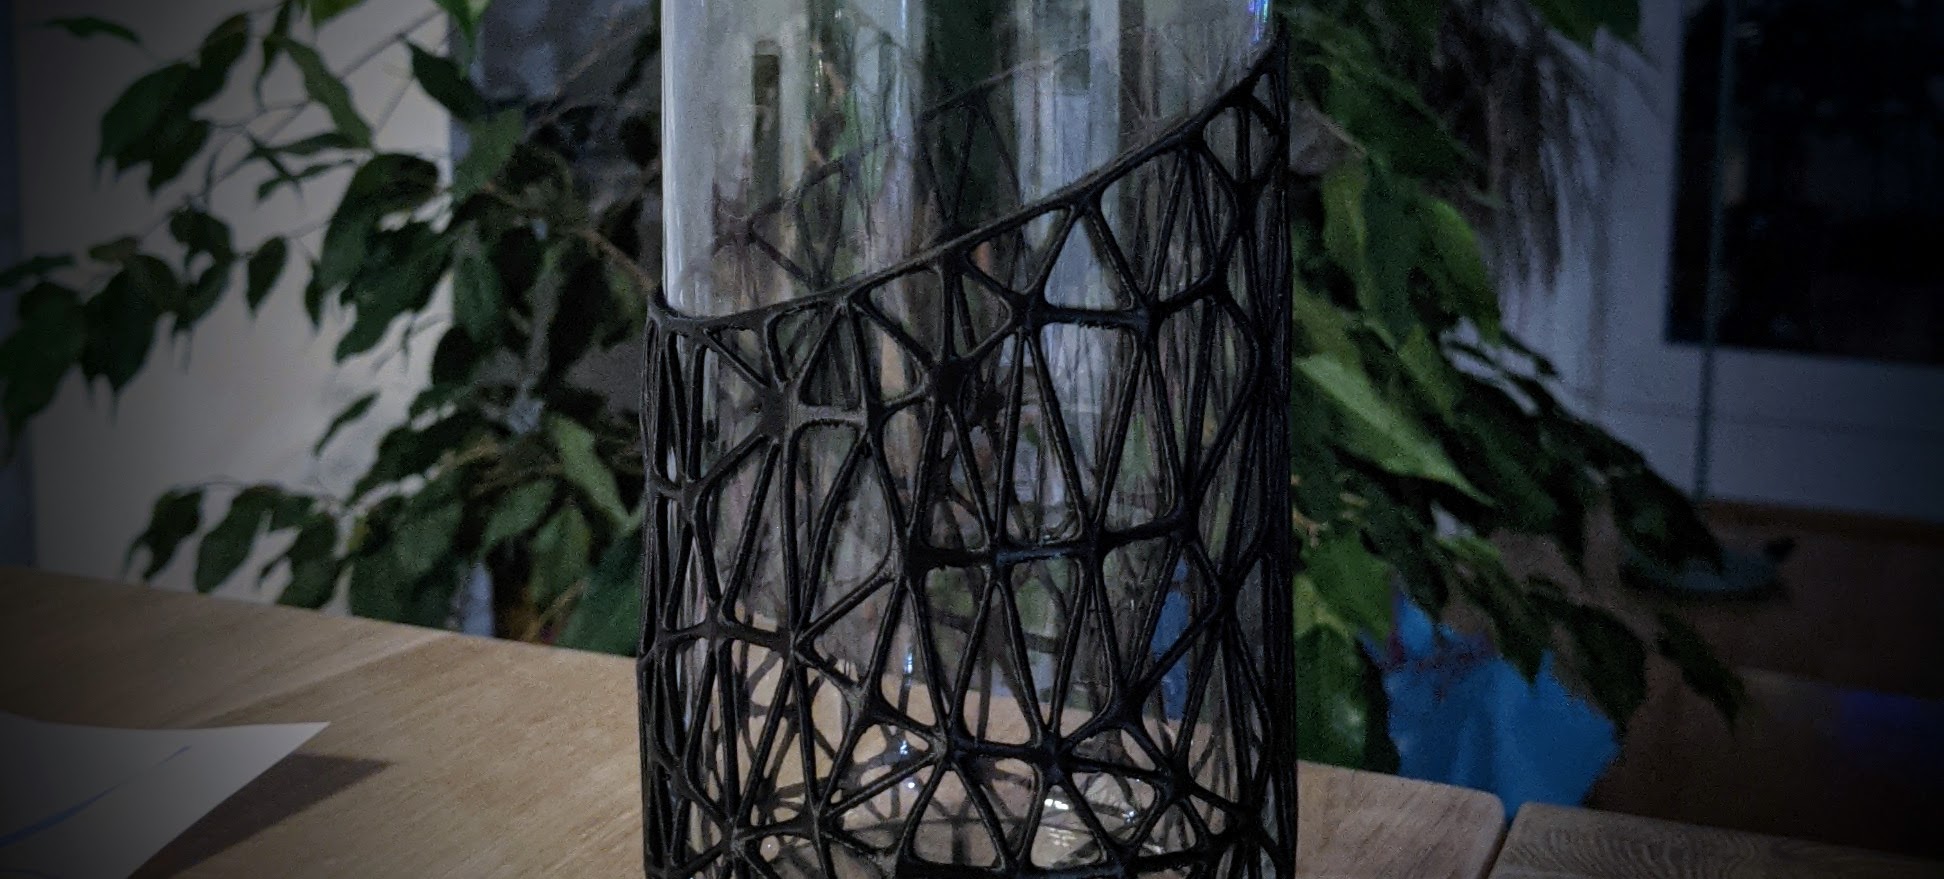
In my case (the featured photo) the jar has slightly smaller diameter on the upper part, I fitted the cover by heating the print again with a hot air blower (you can use hairdryer on maximum heat) to about 70 °C - 80 °C (for PLA) and it becomes softer, then I pushed the jar inside, and heated the print again so it shrunk to it’s original size and I ended up with a nicely fitted result.

I hope this tutorial was useful for you, please leave comment and don’t forget to subscribe to my weekly newsletter for more tips and tricks.